If you read this blog regularly, you may notice that I sometimes use a red rectangle to highlight important parts of images. In today's post, I will show you how to draw a rectangle and oval highlight with GIMP.
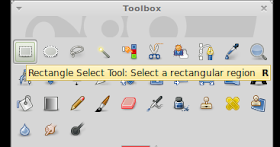
Suppose you got an image and you want to draw a rectangle around some part, the tool you need to use is the rectangle select tool, which is the first icon on the tool box.
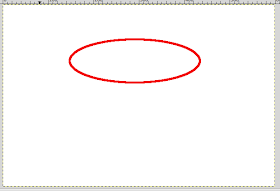
Click on that icon and drag around the part you want to highlight and you will have something like this:

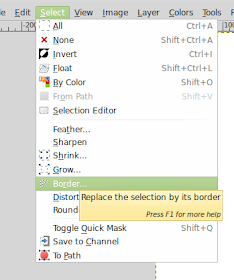
After that, click "Select" on the Menu bar and select "Border":
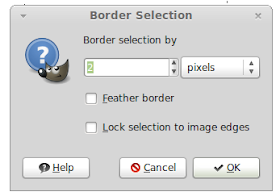
Then choose the width of the border that you like, I normally use 2 pixels for the width:
And you will have something like this afterward:

And the final step is to fill the border with a color, the tool to use is Bucket Fill Tool.
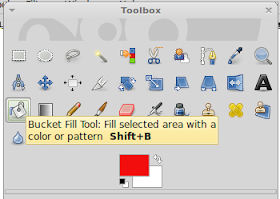
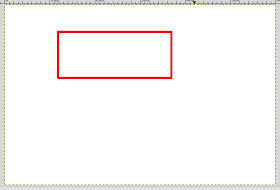
Just click on the icon, select the color then fill the border. And here is the final result:
Similarly, you can draw an oval highlight by using the Ellipse select tool to get this: