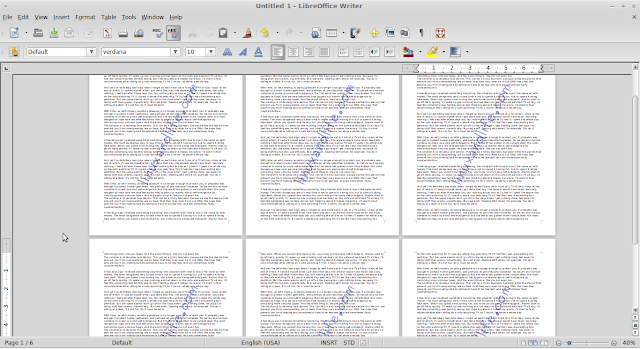
You may sometimes want to add a watermark to your documents to claim your authority. There are, of course, many different ways to do the trick but in today's article, I will show you how to do it using two popular open source applications, GIMP and LibreOffice Writer. Both applications are pre-installed in Linux Mint 13.
Step 1 : Create a watermark image using GIMP
Open an A4 template. Just hit Ctrl + N and the "create a new image" window will appear, then choose the A4 template:

Make the image transparent by going to Layer > Transparency > Color to Alpha:

Next, use the text tool ( the A letter icon on the toolbox window) to create your watermark text. Select the proper font, color and size for your watermark. If you want to put watermark on the entire document , I suggest using a big font size like 200 or 250 and placing the watermark text in the middle of the image. Also lower the opacity (the best value should be around 20%) of watermark text so it will not overlap the document text after you add the watermark:

You can also rotate the watermark text by going to Tools > Transform Tools > Rotate then customize the rotating angle and the position of the watermark text:

Now you have a watermark image, save the image and move to step 2.
Step 2: Add the watermark to documents using LibreOffice Writer
Start LibreOffice Writer and open the document(s) you want to add watermark. On the LibreOffice Writer window, go to Format > Page:

On the Page Style window, click on the Background tab and select the Graphic option:

Click on "Browse" to select your watermark image that you just created with GIMP, choose the type that you prefer and click "Apply" and you will have this result:

And everything is done. Your documents have a nice watermark now.

No comments:
Post a Comment