Redmine is a cross-platform project management web application and bug-tracking tool written in Ruby on Rails that can handle multiple projects. You can find here full features for Redmine as well as the documentation that will give you an overview of how Redmine work.
In this tutorial, we will explain the installation of Redmine on Ubuntu 12.04 Precise Pangolin and Linux Mint 13. Redmine is a web application, that's why we need firstly to install a web server that includes Apache and MySQL on your system to be able to run it. If you have already installed a LAMP server, you can skip the installation of Apache and MySQL packages below.
Start the terminal and install Apache and MySQL with this command:
sudo apt-get install apache2 mysql-client mysql-common mysql-server
Next, we need to install Ruby/Rails with these commands:
sudo apt-get install ruby1.8 ruby1.8-dev ruby-i18n ruby-rails-2.3 ruby-tmail
sudo apt-get install rubygems ruby-builder ruby-coderay ruby-text-format
sudo apt-get install ruby-blankslate ruby-mysql ruby-net-ldap ruby-rack ruby-rchardet
Start now the installation of Redmine with this command:
sudo apt-get install redmine redmine-mysql
Note : choose MySQL when prompted for database type to be used with Redmine.
Create now a symbolic link for the /var/www/redmine directory with this command:
sudo ln -s /usr/share/redmine/public /var/www/redmine
Grant this folder permission as follows:
sudo chmod a+x /usr/share/redmine/public
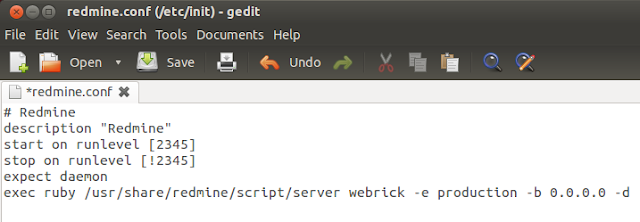
Create now a file called redmine.conf in the /etc/init/ directory with this command:
sudo gedit /etc/init/redmine.conf
For Linux Mint 13, create the file as follows:
sudo pluma /etc/init/redmine.conf
Then add these lines:
# Redmine
description "Redmine"
start on runlevel [2345]
stop on runlevel [!2345]
expect daemon
exec ruby /usr/share/redmine/script/server webrick -e production -b 0.0.0.0 -d

Save the file and exit. Start now Apache and Redmine with these commands:
sudo service apache2 start
sudo service redmine start
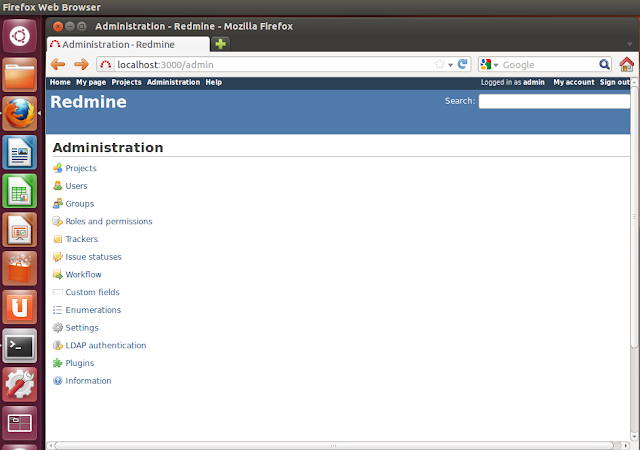
You can now access Redmine at this link:
http://localhost:3000/
Replace localhost with your own server IP address if needed. To login to your admin area, the default login credentials are the following:
username: admin
password: admin

That's it!


Thx! this worked great for me on Linux Mint Nadia, based on Ubuntu 12.10.
ReplyDelete